
It's time to ditch the lip balm aisle and join the 'DIY-lips' movement! This recipe is so simple to get your whole family stocked up and is easy enough for the kids to get involved and help. You'll never need store-bought again and won't want to go back once you have experienced all-natural and long-lasting lip nourishment without the artificial yuck and for a fraction of the price. #Winning
This is one of many in the DIY Adventures Series on my blog. Sign-up to receive each new blog post delivered conveniently to your inbox when they arrive!
Greenwashing
 When I started trying to make the switch to what I thought were more natural brands and safe products, I didn't know yet about the reality of greenwashing that is so prevalent in our brands and offerings at the stores. For instance, when I switched from what seemed like more chemical-heavy brands to something like Burt's Bees for my chapstick addiction, it wouldn't be until years later that I realized they were sold to The Clorox Company.
 I had moved to Tom's of Maine for toothpaste and deodorants, but eventually learned they were owned by the Colgate-Palmolive Company. I'm not sure if I can trust these companies as having my health in mind, as much as wanting to cash in on the move to natural branding and marketing that was happening.
Here are my most simple examples to check for to test whether brands are being honest with you or not...
Subtle Deceipts...
Fragrance. The one ingredient that hides limitless secrets. If the company uses this word, they are not the ones for you. This is the biggest scam out there because the manufacturers have fallen behind the lies of industry trade secrets so use the word fragrance to hide any and all chemicals they don't want to voluntarily disclose to you. If they use this word, they are choosing to not be open and honest with you as the consumer. Period. #OnToTheNext You deserve better and need to move to a better brand.
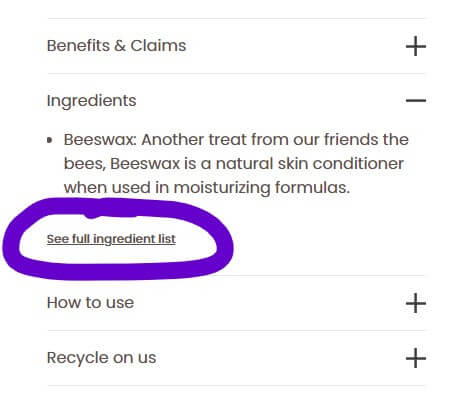 Why employ these tactics of concealing what they'd prefer you not to notice effortlessly? What's the reasoning behind prompting you to click twice to reveal the complete ingredients on their page instead of displaying them immediately when you initially click to view the ingredients? #SubtleDeception
This brand above has a lot of great ingredients, but also things like soybean and canola oil which I would rather not ingest. "Some studies suggest that canola oil may increase inflammation and negatively impact memory and heart health." Source #NoThanks
So they want you to focus here, on their "100% natural origin" and on the label they saw responsibly sourced beeswax which we should also like, but you have to go to another page and start reading through a long marketing article where they try to teach you what they want you to know about natural ingredients versus derived natural ingredients, and then they show how it works for just the coconut oil that they use, nothing else. Then the narrative quickly moves to the packaging and other carbon pledges. But they don't seem to talk much about the concerning ingredients...

So in the end, even as a consumer trying to educate themselves on what is contained there, you don't leave knowing much about the actual quality of the ingredients, and you would certainly have to have already known that soy and canola might be concerned to consume. But even from the coconut and essential oils, you want to understand whether those are organic, etc.
P.S. For a quick solo side-quest, check out the full deets on fragrance here.
So while the colors and advertisements might make you feel like this was a safe choice (I did for years), the reality might not be as true. We can do better!
Supply Overview
 Controlling the ingredients yourself is the perfect way to ensure you and your family know exactly what is inside and is from sources you trust! This might seem like a daunting task, but I promise it can be done more easily and inexpensively than you might think. Let me show you how.
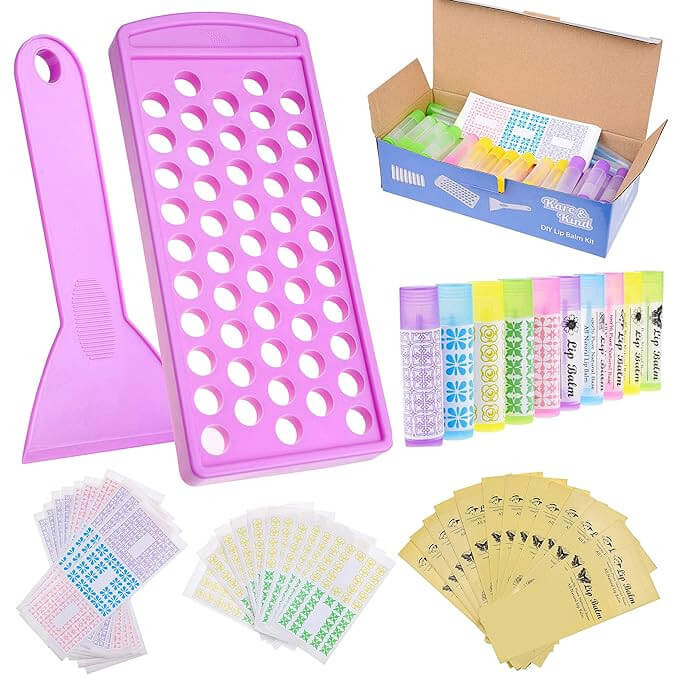
For containers, you don't have to use only the disposable tubes, you can also use small jars and tins. Be creative but also keep them reasonably small to keep your ingredients fresh. I have made mine in these types of roll-up tubes that I made fun labels for, small jars, and for my next batch, I am going to do these cute tins. These should run between $.20 and .85 per container. If you opt for the tubes, then I do recommend grabbing the kit with the filling tray. It just makes life much easier and less messy when you fill them! This was the set I got with fun stickers to get me started and different colored tubes.
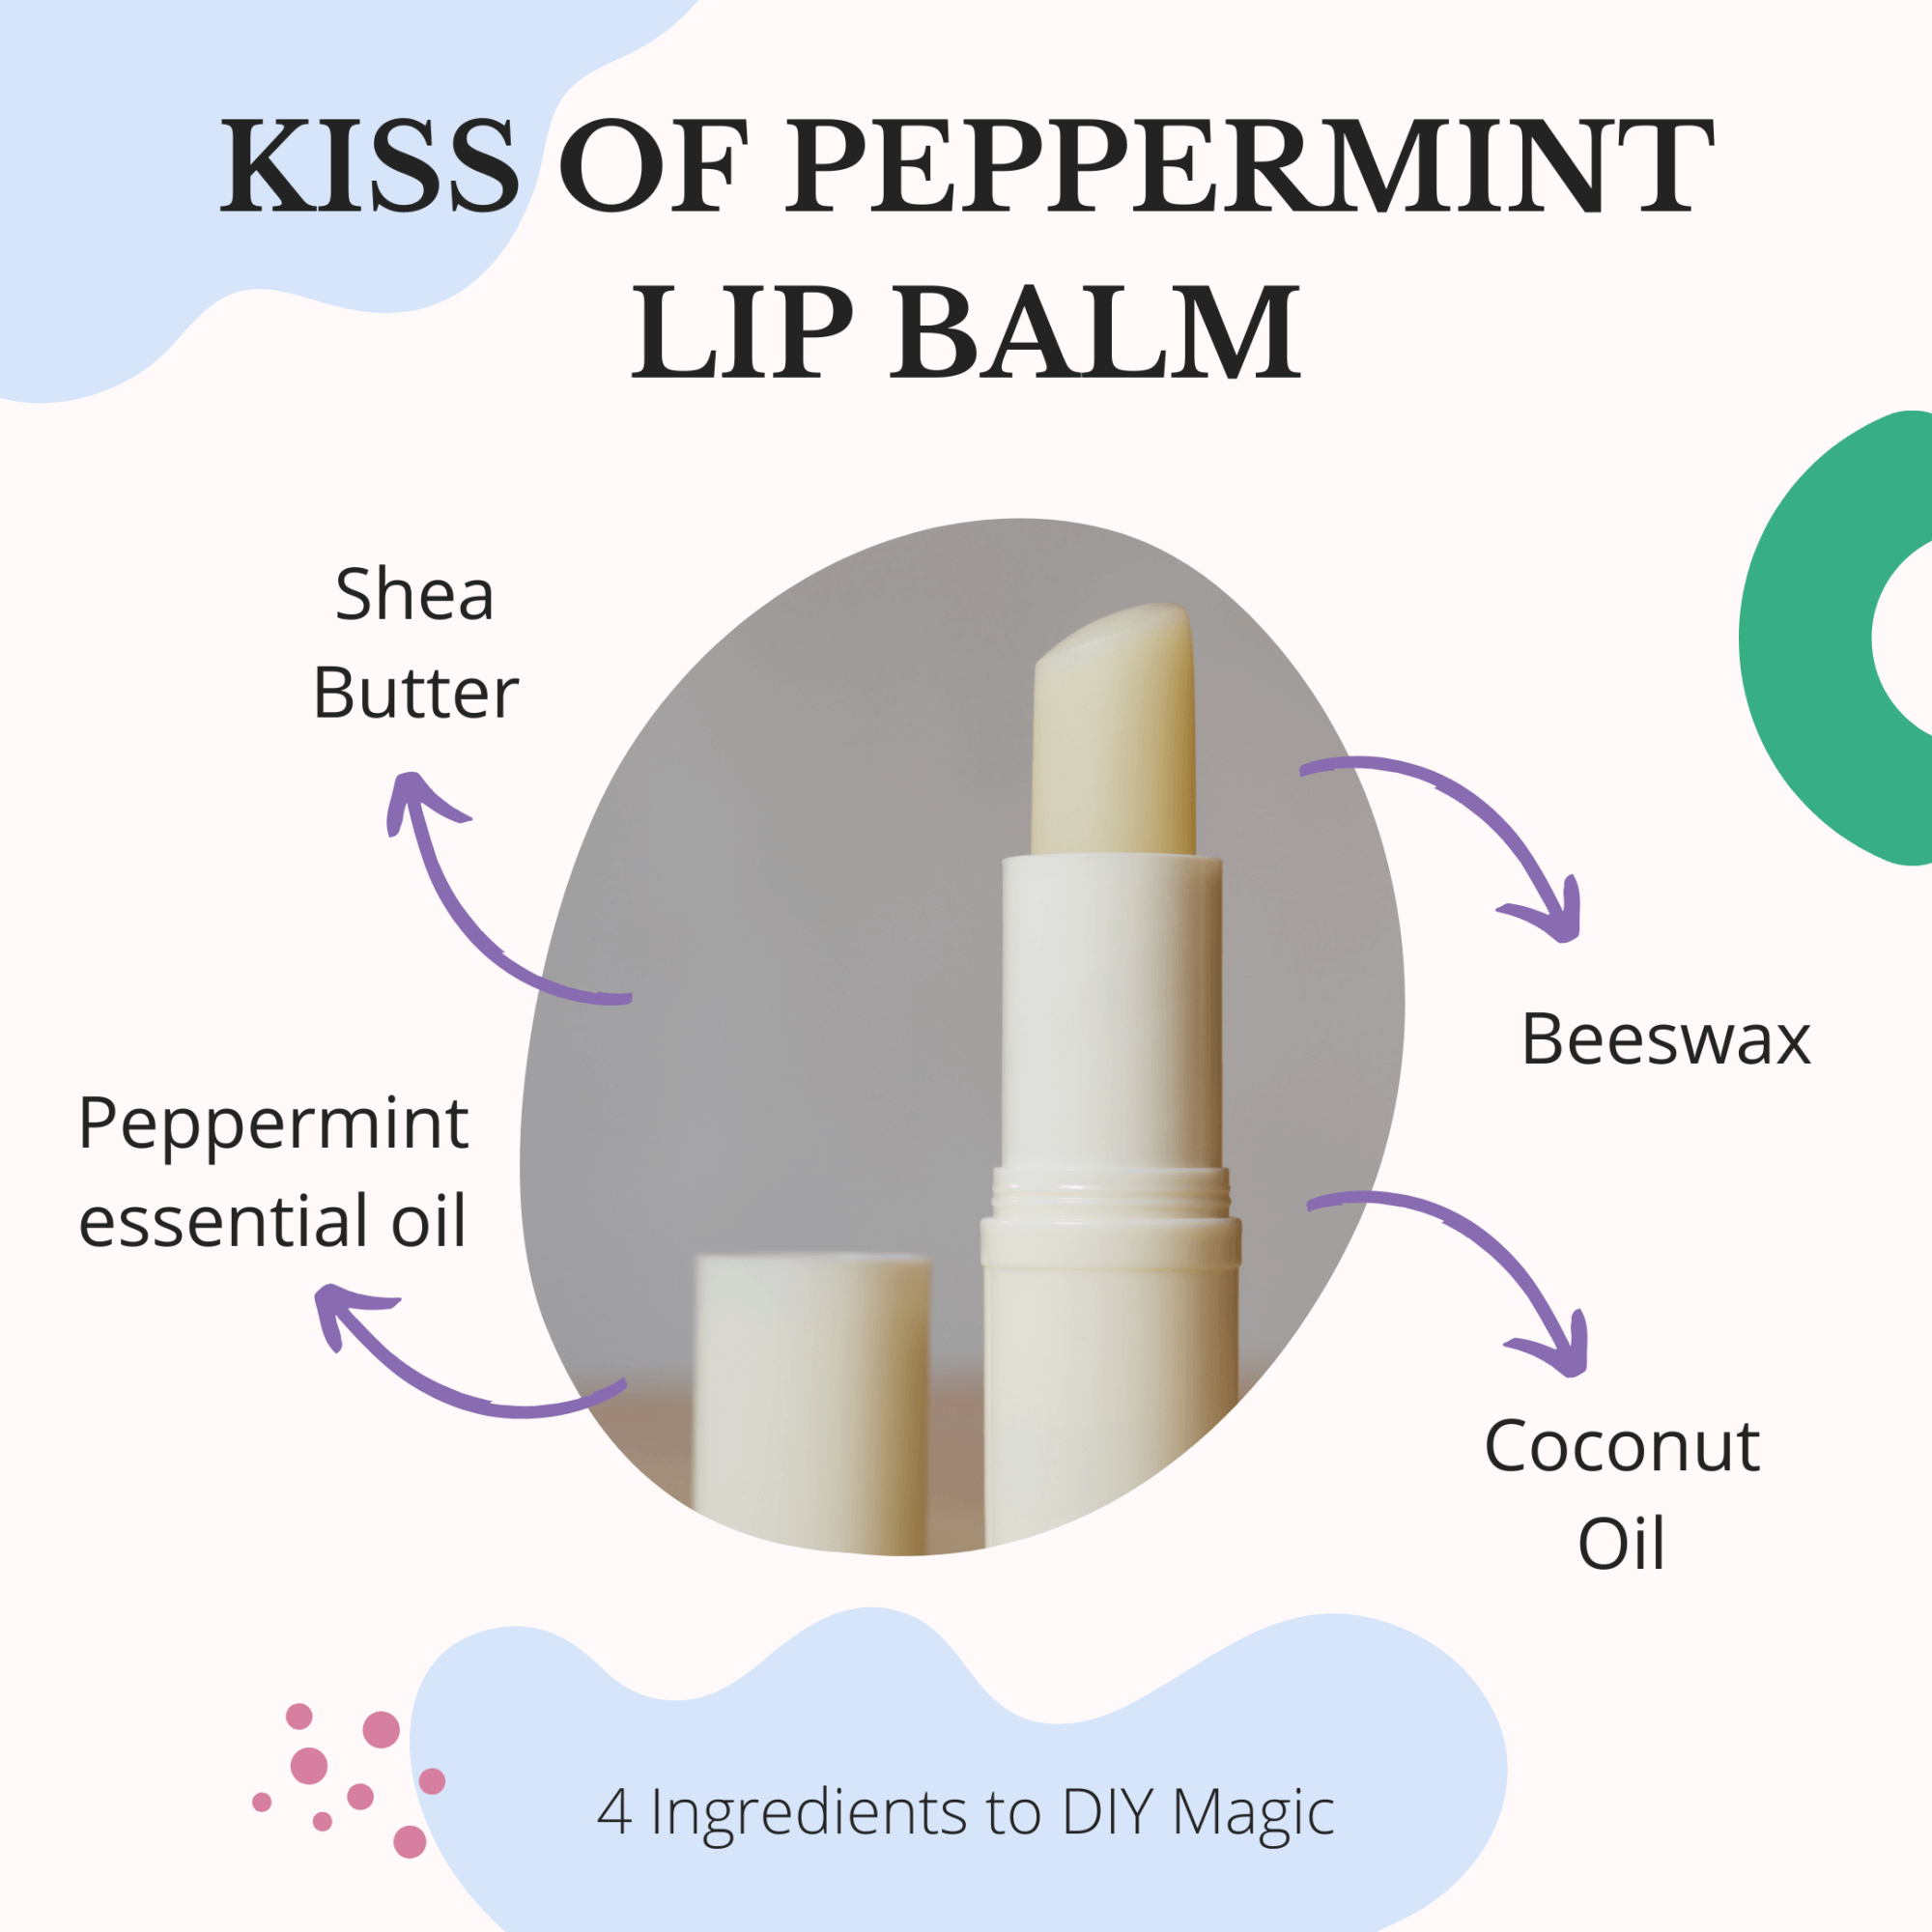 Natural Shea Butter - We need about 2 tablespoons per batch, so look for a natural option locally, or try this option from a small business selling online.
Organic Beeswax Pastilles - I like the Certified Organic option from Beesworks out of Chesterfield, Missouri, but see what you can find close to where you live through the farmer's markets or natural grocery stores nearby. #ShopLocal Our recipe only needs 2 tablespoons, so this bag will last you a long time and you can use it in other DIY projects you have been wanting to try.
Organic Coconut Oil - Again we are looking for unrefined, virgin / extra-virgin (note, there isn’t a USDA-recognized grade of extra virgin coconut oil; the “virgin” typically means that the oil is unrefined and typically cold-pressed), non-GMO, etc. with as little processing as possible. See what you can find locally, or grab one like this. This will last you a long time and will work great as well for making your own deodorant that you will love!
Pure Peppermint Essential Oil - If you know me there is only one brand I trust that has the Seed to Seal guarantee and is 100% Pure, Therapeutic-Grade Essential Oils and that is from Young Living. Heck, I have even helped plant, distill, and bottle some of these oils on the farms, it doesn't get more transparent than that!
Recipe and Instructions!
Ingredients
- 2 tablespoons beeswax pastilles
- 2 (heaping) tablespoons natural shea butter
- 2 (heaping) tablespoons organic coconut oil (96 degree melting point)
- Up to 30 drops of Young Living Essential oils Peppermint Vitality dietary essential oil
- Lip balm containers, lids, and stickers (the last is optional, but fun to have)
Instructions
- Slowly melt beeswax, shea butter, and coconut oil in a double boiler or small glass bowl over a small pot of boiling water, stirring constantly until melted.
- Remove pan from heat but keep over the still-hot water to keep the mixture melted.
- Add a few drops of the essential oils at a time and test a tiny amount on your arm to make sure the scent is to your liking.
- Once you’ve added the desired amount of the essential oils, fill the lip balm tubes. This must be done quickly since the mixture will start to harden as soon as it is removed from the heat.
- Let containers sit at room temperature for several hours until cooled and completely hardened before capping them.
Pricing Breakdown
For a quick price breakdown, this would come out to about $63 for all of the ingredients, many of which would be able to be used 2-14 times (14x = 182 tubes) based on the amount needed for one batch. There would also be a one-time cost for the reuseable lip balm tube kit of $9.99 if you opted to use that. Each lip balm batch above makes about 13 tubes, so about $1.04 per tube for the ingredients after the kit purchase. Based on this pricing and how much I love these for myself, I have often gifted them to friends and family as well!
Let me know how you like it! What DIY should we do together next? Comment below
Heck yes, I will earn a small commission if you opt to purchase any of the products that I recommend here! Since they are the ones that I use, why would I recommend anything else? Referral marketing is great and I appreciate your support of my work.
Information courtesy of Echo Alexzander
Information courtesy of Echo Alexzander


0 Comments